A productive garden does not need a complicated watering system. A well-chosen DIY drip irrigation kit can send water through narrow tubing to the soil around each plant, helping keep leaves dry and roots supplied. But kits differ. Hose length, emitter spacing, pressure regulators, filters, and connectors all affect how well a setup works.
Irrigation researcher Dr. David Zoldoske has studied efficient water delivery. A practical takeaway from his work is clear: match water application to plant needs and reduce waste. That principle guides this look at top DIY drip irrigation kits for gardens. We’ll compare what comes in each kit, how easily parts connect, and whether the system suits raised beds, containers, or longer rows. Small details matter. A clogged filter or uneven pressure can leave one basil pot soggy while the far end of a bed stays dry.
The right kit should fit your garden, not an idealized diagram. Measure the beds first. Check your faucet and water pressure, then consider how often you can inspect the lines. This guide will highlight useful features, likely limitations, and practical setup considerations. No kit is maintenance-free, and “easy installation” can still mean trimming tubing on a hot afternoon. That’s worth remembering. A little planning can make daily watering simpler, though your plants may still need adjustments as they grow.
Top DIY Drip Irrigation Kits for Gardens
How Garden Drip Irrigation Kits Work
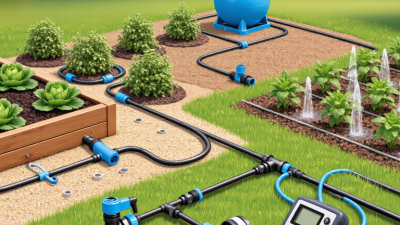
A garden drip kit sends water from a tap through narrow tubing to plants’ root zones. Water moves slowly. Most kits include a filter, a pressure regulator, main tubing, smaller feeder lines, and emitters. The filter catches grit that could clog tiny openings, while the regulator helps keep pressure steady. Emitters release water near each plant, rather than spraying the whole bed. A timer can automate watering, but it does not know whether the soil is already damp.
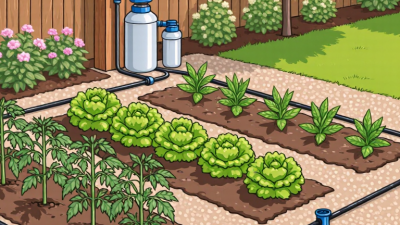
Lay the main tube along a garden bed, then connect feeder lines where plants need water. Secure the tubing with stakes, and place emitters close to roots without burying them. Check that every outlet drips after turning on the system. Uneven flow can point to a kink, blockage, or pressure problem. The first layout is rarely perfect. I’d run the kit briefly, feel the soil beneath a few emitters, and adjust their positions. Flush the lines occasionally, especially after installation or repairs. A simple setup can save water, but it still needs observation.
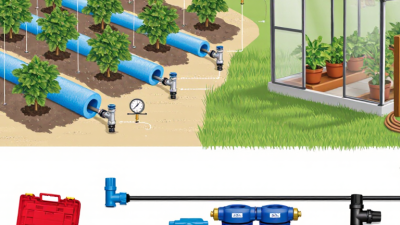
A useful DIY drip irrigation kit starts with a filter, pressure regulator, main tubing, connectors, and emitters. The filter catches grit that can clog narrow outlets. A regulator reduces pressure so tubing and fittings are less likely to leak. Small parts matter. Check that the tubing diameter matches the connectors, and that emitters suit your plants’ spacing and water needs. A timer adds convenience, but it cannot replace checking damp soil and adjusting run times.
The wider context makes careful setup worthwhile. FAO’s AQUASTAT data report that agriculture accounts for about 70% of global freshwater withdrawals. The US EPA’s WaterSense guidance says outdoor water use averages nearly 30% of household water use in the United States. These figures describe broad patterns, not guaranteed savings from a home kit.
Place tubing along the root zone, secure it with stakes, and flush the lines before attaching emitters. A backflow preventer may also be needed, depending on the water source and local requirements. One common oversight is assuming every bed needs identical flow. It usually doesn’t. Test each zone with a bucket or soil check, then revise the layout; even a tidy kit can need adjustments.
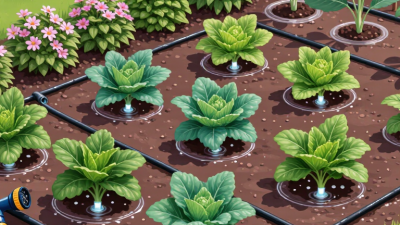
A garden’s shape should guide the kit choice. For straight vegetable rows, a dripline kit with evenly spaced outlets can follow each bed with little extra tubing. Measure the longest row before buying; short supply lines may leave distant plants with weak flow. Keep the layout simple. A compact raised bed usually needs only a main tube and short feeder lines. Small beds are forgiving.
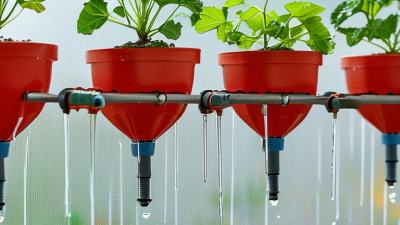
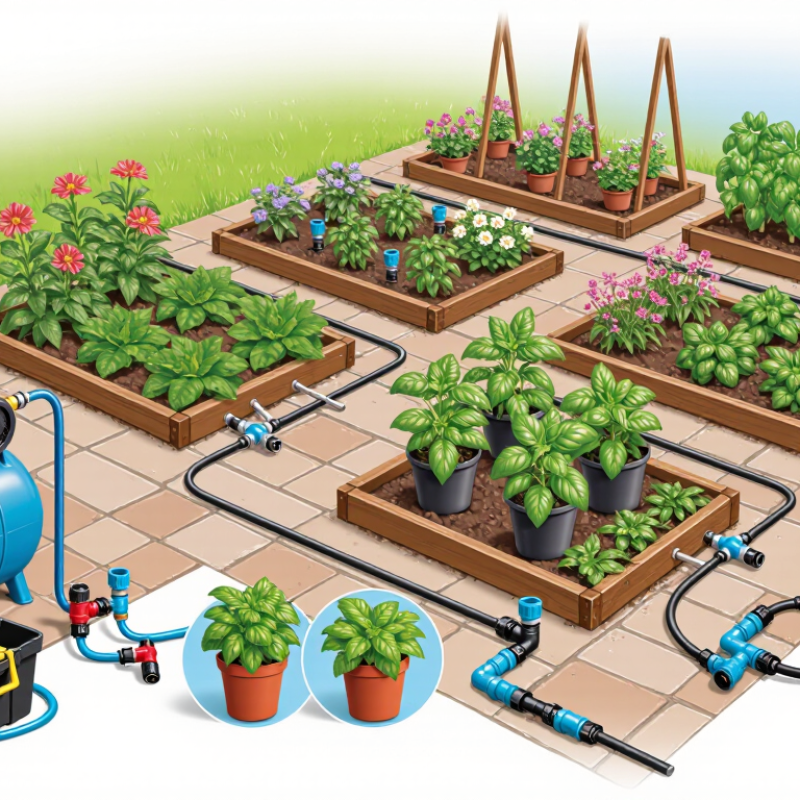
Mixed borders need more flexibility. Kits with microtubing and adjustable emitters let you water a thirsty tomato more heavily than nearby herbs. For pots on a patio, choose a container-focused kit with narrow tubing and individual stakes. Secure loose lines around pot rims, where they can shift during watering. Sloped gardens need careful placement: water may run unevenly, so test each section and adjust emitters or divide the layout into zones. A filter and pressure regulator can help prevent clogging and inconsistent output. One planning mistake is treating every plant as if it needs the same amount of water. Even a well-matched kit may need small changes after the first few watering cycles. Test it first.
Choosing a drip irrigation kit starts with your garden’s layout, not the number of parts in the box. Sketch each bed and note its length, plant spacing, and distance from the outdoor tap. Measure twice. A compact herb bed may need short tubing and closely spaced emitters, while widely spaced tomatoes need water points near individual stems. Check that the kit includes enough tubing, connectors, and end caps for your actual plan.
Water supply matters just as much. Read the kit’s pressure requirements and compare them with your home’s water source; a pressure regulator may be necessary for steady, gentle flow. A filter helps keep small emitters from clogging, especially if your water carries grit. That matters. Look for adjustable emitters if your plants have different needs, but remember they require occasional checking. Fixed-flow emitters can be simpler across a uniform row. Consider whether the system can expand, and whether replacement parts are easy to find. Cheap fittings can loosen, yet paying for features you will never use is wasteful. I would leave a little room in the layout for future plants, then test the system and watch the soil around each emitter before settling on a watering schedule.
Compare common nominal drip-emitter flow rates to help choose a kit suited to your garden.
How to use this: Lower-flow emitters can suit small plants or slower-draining soil, while higher-flow emitters can deliver water faster. Actual output depends on water pressure and the specific emitter, so check the kit specifications and your garden’s needs.
A drip irrigation kit works best when its layout matches the garden, not just the package diagram. Measure the beds and note which plants need similar amounts of water. Mark each plant with a small flag before laying tubing. Keep the main line close to the bed edge, where it is easier to inspect and less likely to snag a hoe. Small details matter.
Install the filter and pressure regulator as directed, then connect the main line without forcing the fittings. Cut tubing cleanly; angled cuts can cause leaks. Place emitters near roots, but leave a little room for stems to grow. Run the system before covering or pinning everything down. Watch each connection for drips and check that water reaches the far end. A common mistake is assuming every emitter flows evenly. It may not.
Check it weekly. Look for kinked tubing, clogged emitters, and wet patches that suggest a loose fitting. Flush the line occasionally by opening its end while the water runs, then close it securely. In hot, windy weather, plants may need more frequent watering; after rain, they may need less. I still find it easy to overwater seedlings when the timer stays unchanged, so adjust it as the garden grows.
| DIY system layout | Best suited for | Typical components | Practical operating guidance | Installation and maintenance |
|---|---|---|---|---|
| Container and patio setup | Pots, hanging baskets, and small groups of planters | Supply tubing, 1/4-inch distribution tubing, adjustable emitters, connectors, filter, and pressure regulator | Adjustable emitters allow different watering rates for pots of different sizes. Check the emitter instructions for its flow range. | Secure tubing along pot edges and keep emitters near the root zone. Flush tubing and check each emitter for blockage. |
| Raised-bed row setup | Vegetable beds with straight or regularly spaced planting rows | Mainline tubing, 1/4-inch dripline or distribution tubing, barbed fittings, filter, regulator, and end closures | Run a line along each planting row. Choose emitter spacing to match crop spacing and soil conditions; closer spacing may suit closely planted crops. | Lay lines before planting where possible and anchor them to prevent movement. Open line ends periodically to flush out sediment. |
| Small in-ground garden setup | Mixed vegetable or flower beds with several rows or plant groups | Larger-diameter supply tubing, branch connectors, dripline or point-source emitters, filter, pressure regulator, and optional timer | Keep tubing runs within the system’s specified length and flow limits. A pressure regulator helps maintain the pressure required by compatible drip components. | Map the bed and test the layout before burying or covering lines. Inspect connections for leaks and confirm water reaches the far ends. |
| Shrub and perennial layout | Established shrubs, perennial borders, and plants with different water needs | Supply tubing, point-source emitters, punch-in connectors, filter, regulator, and optional zone valves | Place emitters over the active root area. Larger plants may need more than one emitter; adjust placement as plants grow. | Keep emitters visible for inspection and avoid placing them directly against stems. Check for clogged outlets and damaged tubing. |
| Multi-zone garden setup | Gardens with separate areas, different plant types, or distinct watering schedules | A supply manifold, zone valves, filters and regulators as required, tubing, emitters, and a compatible timer if automated control is wanted | Separate zones can be scheduled independently. Confirm the water source can supply the flow required by each zone. | Label valves and test one zone at a time. Before cold weather, follow local guidance for draining or storing components that could be damaged by freezing. |
General guidance: component specifications vary. Match the filter, regulator, tubing, emitter flow, and maximum run length to the instructions supplied with the irrigation parts and to the available water pressure.