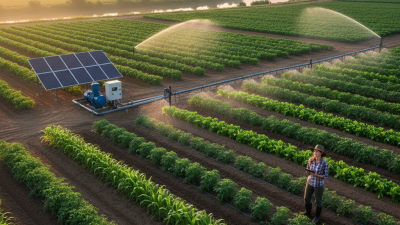
How to Create a DIY Drip Irrigation System for Your Garden?
Creating a DIY drip irrigation system for your garden can be a game changer. According to gardening expert John Smith, "A well-planned system saves water and keeps plants healthy." This method allows for efficient water delivery directly to the roots. It minimizes waste and promotes better growth.
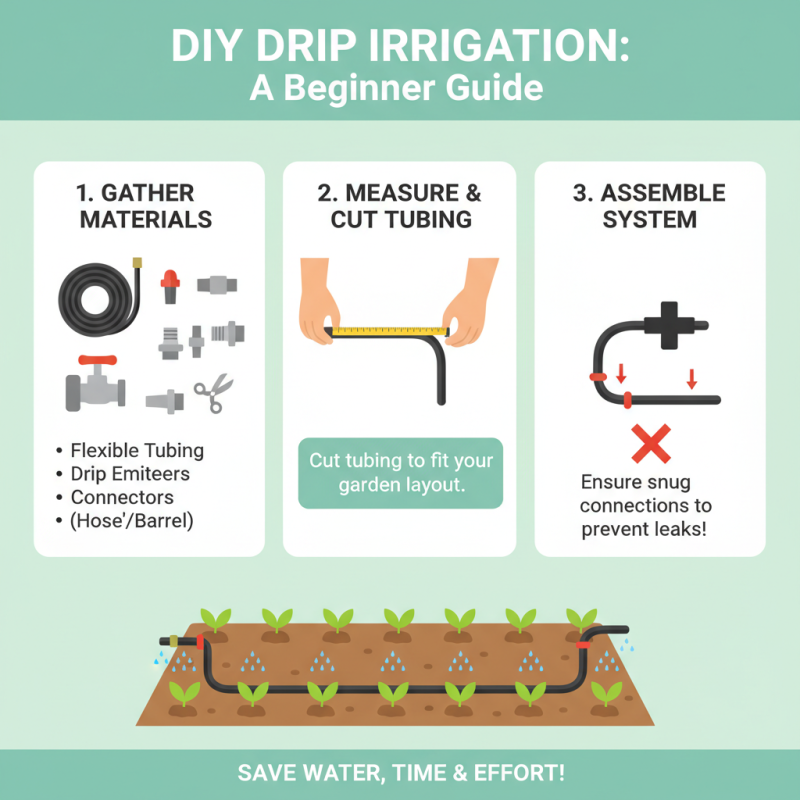
Building your own system can seem daunting, but it doesn't have to be. You can use basic materials like plastic tubing, connectors, and stakes. Start with a plan that fits your garden layout. Measure the areas that need watering. This step is crucial for efficiency.
However, mistakes can happen. You may face clogs or leaks. These problems require troubleshooting and adjustments. Reflect on your setup after installation. Is it working as you imagined? DIY drip irrigation can be rewarding, but it takes some practice to perfect it.
Understanding the Basics of Drip Irrigation Systems
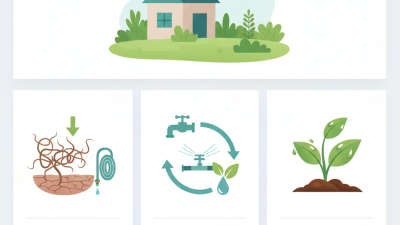
Drip irrigation systems provide a sustainable way to water your garden. They deliver water directly to plant roots, minimizing waste. This method is efficient and can lead to healthier plants. Understanding the fundamentals is crucial before setting up your system.
Begin by gathering materials. You’ll need tubing, emitters, and connectors. It’s important to measure your garden space accurately. This prevents over or under-watering. A common mistake is not checking for leaks. Regularly inspect your system to ensure it’s functioning properly.
Next, layout the tubing. Position it close to the root zone of each plant. This requires some planning. The spacing of the emitters matters too. Too far apart, and plants may not get enough water. Remember, even a small oversight can affect your entire garden's health. Adjusting for different plant needs can also be a challenge. Regular monitoring helps in developing a better system over time.
Comparison of Water Usage for Different Irrigation Methods
Selecting the Right Materials for Your DIY Drip Irrigation
Creating a DIY drip irrigation system can be rewarding, but selecting the right materials is crucial. The first step is to choose the right tubing. Look for flexible, durable tubing that can withstand sunlight and temperature changes. Avoid very thin or brittle materials; they can easily break.
When it comes to emitters, consider drip emitters or micro-sprinklers. They should provide a steady flow of water. Carefully spacing them is vital. Emitters placed too close may overwater. Those too far may leave dry spots.
Tips: Measure your garden layout before purchasing materials. This helps avoid waste. Always test your system for leaks. Not everything will work perfectly the first time. Don’t hesitate to adjust your layout if necessary. Reflection on your choices can lead to improvements. Adjustments may be needed as you observe how water distributes.
How to Create a DIY Drip Irrigation System for Your Garden? - Selecting the Right Materials for Your DIY Drip Irrigation
| Item |
Material Type |
Size/Specifications |
Purpose |
| Drip Tubing |
Polyethylene |
1/4 inch diameter |
Delivers water directly to the plants |
| Emitter |
Plastic |
Adjustable flow rate |
Controls the amount of water to each plant |
| Main Line Tubing |
PVC |
3/4 inch diameter |
Distributes water from the source |
| Connector Fittings |
Plastic |
Various sizes |
Connects different parts of the system |
| Pressure Regulator |
Metal/Plastic |
20-30 PSI |
Maintains consistent water pressure |
| Filter |
Plastic/Metal |
50 mesh |
Prevents debris from clogging the system |
Step-by-Step Instructions for Assembling the System
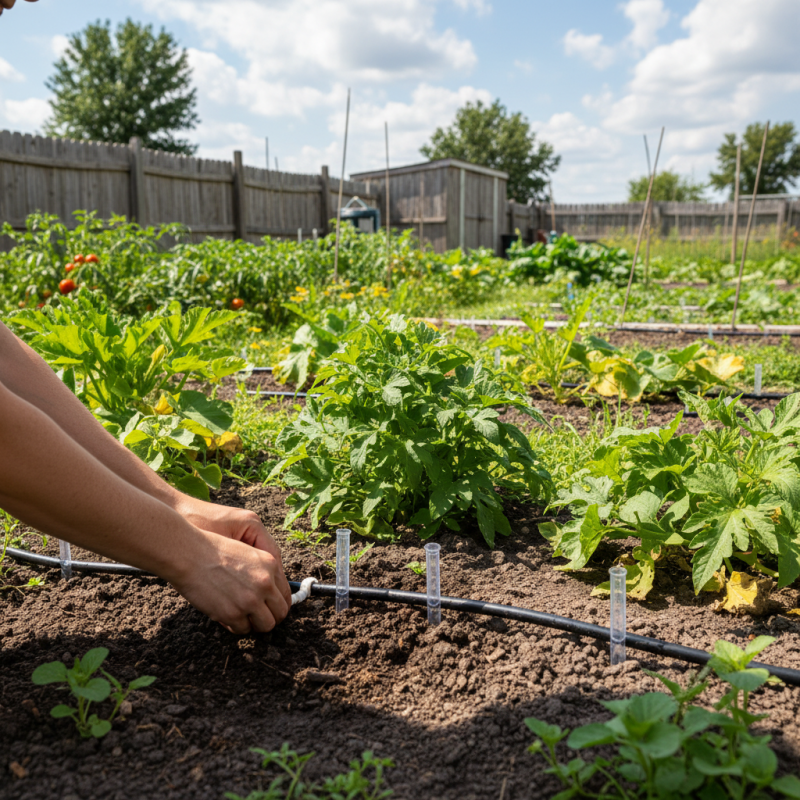
Creating a DIY drip irrigation system can seem daunting, but it’s simpler than you might think. Begin by gathering your materials: some flexible tubing, drip emitters, connectors, and a water source. Cut the tubing into the desired lengths. Ensure each piece connects smoothly, as mismatched fittings can cause leaks.
Once the main line is in place, lay it out in your garden beds. Position the drip emitters near the roots of your plants. This placement ensures they receive adequate water. You might face challenges with spacing. Some plants may need more moisture than others. Adjust accordingly.
After assembling the system, test it out. Turn on the water and watch for leaks. Fix any issues before planting. Monitoring is essential, as you might discover uneven watering. Experimentation is part of the process. Don’t hesitate to tweak the system until it meets your garden's needs effectively.
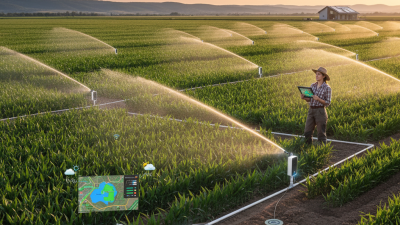
Placement and Setup of Drip Lines in Your Garden
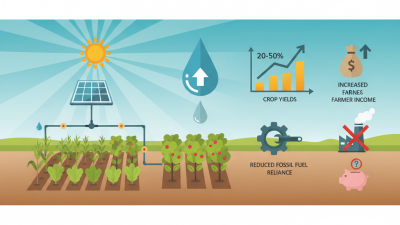
Creating a drip irrigation system can be an efficient way to water your garden. For a successful setup, proper placement of drip lines is crucial. Position the lines close to the plant roots. This ensures maximum water absorption. Research shows that plants receive up to 90% of their water needs through their roots. Over time, this method can use 30-50% less water than traditional watering methods.
Consider the spacing of your drip lines. Guidelines suggest placing lines 12 to 18 inches apart for row crops. For larger plants or trees, spacing can widen to 24 inches. Adjust the emitter flow rate based on your plants' needs. Emitters typically deliver 0.5 to 2 gallons per hour. Monitoring soil moisture can help in making these adjustments. However, too much water can lead to root rot. It's essential to find the right balance.
While setting up, check for leaks regularly. Even small leaks can waste significant water over time. Drip irrigation requires periodic maintenance. Clogged emitters can hinder efficiency. It's important to regularly inspect and clean the system. Planning the layout may take time, but the benefits in water conservation and plant health make it worthwhile.
Testing and Maintenance Tips for Your Drip Irrigation System
Testing and maintaining a DIY drip irrigation system is essential for optimal performance. Regular checks ensure everything works properly. At least 15% of home gardeners experience issues with their irrigation systems. Clogging is a common problem, especially with emitters. To combat this, flush the system periodically. This involves running water through the system without any stakes or micro-tubes attached.
It’s also crucial to inspect your drip lines for leaks or cracks. Even small leaks can waste valuable water. Check connections, especially after significant seasonal changes. Corrosion can occur, leading to inefficiencies. Keep an eye out for changes in water pressure. A sudden drop might indicate a blockage.
Lastly, keep records of your maintenance. Document when you tested the system and any changes made. According to industry studies, gardeners who track their systems see a 20% increase in efficiency. Reflection on your methods can lead to improvements. Regular maintenance isn't just a chore; it's an investment in your garden's future.